

Getting Started with React Native for Newbies
Are you a newbie looking to get started with React Native? If so, you're in the right place! React Native is a popular JavaScript framework for building mobile applications. It's based on the popular React library and allows you to write native mobile apps using JavaScript.
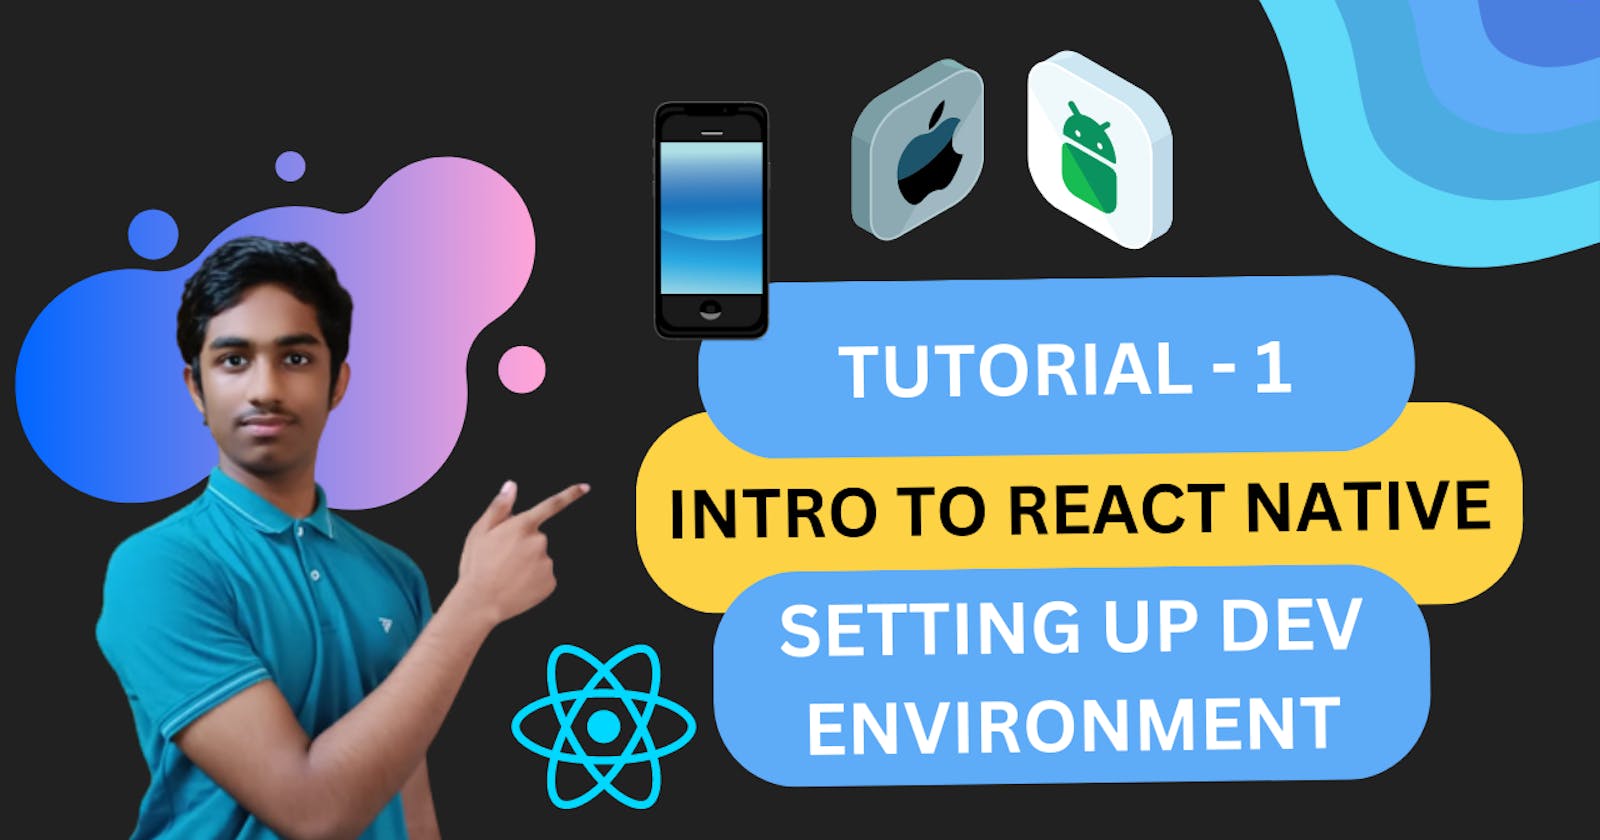
Step 1: Install the Required Tools
Before you can start building apps with React Native, you'll need to set up your development environment. You'll need to install the following tools:
Node.js
Watchman
React Native CLI
Android Studio (for Android development)
Xcode (for iOS development)
Once you have all the required tools installed, you're ready to start building!
Step 1.5: Hard Ware Requirements
I bet that you must be thinking Android Studio or Xcode consume huge ram and you might have fallen into a dilemma if your laptop/PC could handle but don't fear as in developing with react native you never have to open them after downloading. Note that we just need some android sdk's to make sure our app runs properly hence we install android studio similar to thing for IOS too. But minimum hardware requirements would be:-
RAM: At least 4GB of RAM
Storage: At least 250GB of available disk space
Operating System: Windows 7 or higher, or macOS 10.13 or higher
Processor: Intel i5 or higher, or AMD equivalent
Graphics card: A dedicated graphics card with at least 1GB of VRAM is recommended, but not required.
Step 2: Create a New React Native Project
To create a new React Native project, we have 2 options:-
1) Expo Go (Quick Start Method also a bit easier)
2) React Native CLI (Professional Way Of Development)
1) Expo Go Method:-
Run the following command to create a new React Native project called "AwesomeProject":
For NPM
npx create-expo-app AwesomeProject

cd AwesomeProject
npx expo start
For Yarn
yarn create expo-app AwesomeProject

cd AwesomeProject
yarn expo start
This will create a new React Native project named "MyAwesomeApp" in a directory with the same name.
Running Your App:
Install the Expo Go app on your iOS or Android phone and connect to the same wireless network as your computer. On Android, use the Expo Go app to scan the QR code from your terminal to open your project. On iOS, use the built-in QR code scanner of the default iOS Camera app.
2) React Native CLI:-
Run the following command to create a new React Native project called "AwesomeProject":
npx react-native init AwesomeProject
Step 3: Run the Project
Once you've created your project, you can run it using the following command:
javaCopy codenpx react-native run-android
or
javaCopy codenpx react-native run-ios
This will start the development server and launch your app in either an Android or iOS emulator.
Step 4: Start Coding!
Now that you've got your project set up and running, you can start coding your app! React Native uses a similar syntax to React, so if you're already familiar with React, you should feel right at home.
Some popular code editors for React Native include Visual Studio Code and Atom.
Conclusion
That's it! You now have a basic understanding of how to get started with React Native. Keep in mind that this is just the beginning, and there's a lot more to learn. But don't worry, there are plenty of resources available online to help you along the way.
And now, as promised, here are a few jokes and memes to lighten the mood:
Why did the React component go to the psychiatrist? Because it had a state problem!
"I have a problem with my React Native app." "Have you tried turning it off and on again?"
When your app finally runs without any errors:
Happy coding! 😊😊